Uncategorized
Vivre® IPL Pro - Step-by-step guide
Table of contents
Step 1
Start here


Step 2
Next steps
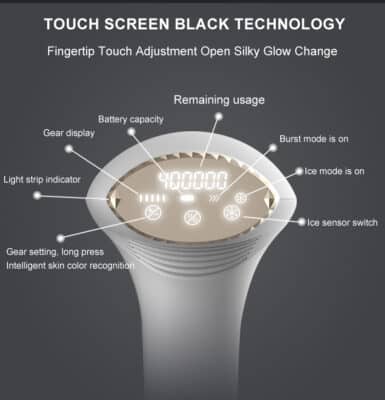
In the next step you turn it on & adjust the strength of the Vivre Pro IPL.


You can choose between 1-5 & you choose which level suits you. You can increase the strength over time or adjust the strength on different areas of the body (Example: You can choose to have the treatment carried out at level 2-3 on areas that are a little more sensitive such as on the face & level 4-5 on areas that are a little less sensitive). You increase the strength by pressing the button & following the level increase, the device has 5 strengths (1 corresponds to the weakest strength & 5 corresponds to the highest strength).
Step 3
Soon ready
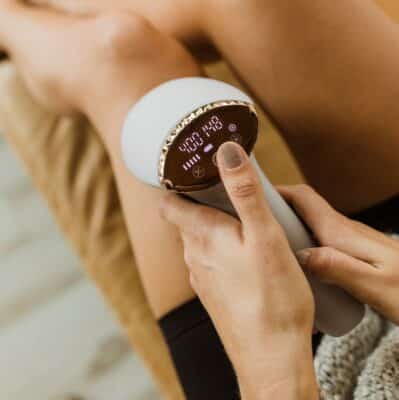
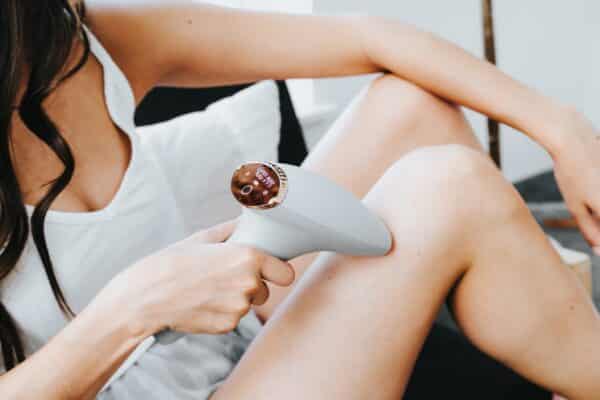
Place the glass window on the skin & wait until the device glows green on the side. Then you can start using it. Make sure you cover the skin with the window to allow all the energy from IPL to be absorbed by the hair follicles. Vivre IPL Pro has a smart feature that you can use for a faster & more effective treatment. Activate auto mode to activate automatic treatment. With the auto mode, you can easily treat the whole body without pressing the button and thus increase the effectiveness of 30%.


Heat energy acts on melanin in the hair follicle & the hair follicle is destroyed. If you have followed the treatments correctly, within a few treatments you will have a tighter & smoother skin with minimal hairs left. The package you have purchased also includes 3 extra head mounts that are specially designed for treating different body parts.
The face mount has a built-in UV filter; the bikini mount has an inward curve and a longer but narrower window; and the forearm mount has a smaller, more square window. You don't need a magnetic attachment to treat legs, arms or back.
It also includes a pair of glasses that you may need to use when treating the face. We have no requirement that you use them, but it is only a recommendation. However, we recommend that you avoid eye contact with the laser during treatment. The device comes with a built-in function that increases safety during use. You can therefore never trigger light from the device if the glass window is not in contact with the skin.
Step 4
Treatment scheme
Initial phase
For the first 4 to 5 treatments, we recommend using this device every two weeks to ensure that all hairs are treated.
After the initial treatment phase


Note: Using the device more often does not increase efficiency.
"Touch-up" phases
Continue treatment with frequent touch-ups (every 4-8 weeks) to maintain results.
What you should turn to for results
- It may take 1 to 2 weeks for hairs to fall out after the first treatment. During the first few weeks after the treatments you will still see some hairs growing. These are hairs that were not in their growing phase during the first treatments.
- After 2-3 treatments you should see a noticeable reduction in hair growth. However, in order to effectively treat all hairs, it is important to continue treating according to the recommended treatment schedule found in the manual.
- After 4-5 treatments you should see a significant reduction in hair growth in the areas you have treated. A reduction in hair density should also be visible.
Sure! Now you can enjoy a hair-free body & never have to use waxing or weird creams again. Results and safety like in a clinic but for a fraction of the price!
Do you have other questions or need help? Contact us via the customer chat on the website, which is available 24 hours a day, and you'll usually get an answer straight away!

